
Community ServiceFood AllergiesFood for LifeHealth CoachingHome RemediesJust Every Day Thoughts...MicrobesNatural and Holistic WellnessNatural HealthPhysical Fitness
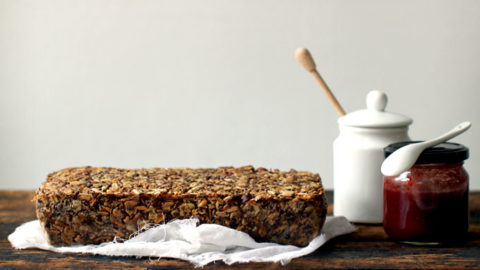
Life changing bread
I have recently started a sour dough starter, and keep it alive by feeding it daily or every other day....
BREAD!!!!!
I am so excited! Stupidly excited! I am happy happy happy! I have craved a slice of homemade bread for...